It’s time to embrace the freshness of spring! Our Bunny Coloring Page is here to add joy and whimsy to your day. Grab your colored pencils or markers and let’s hop into spring together!
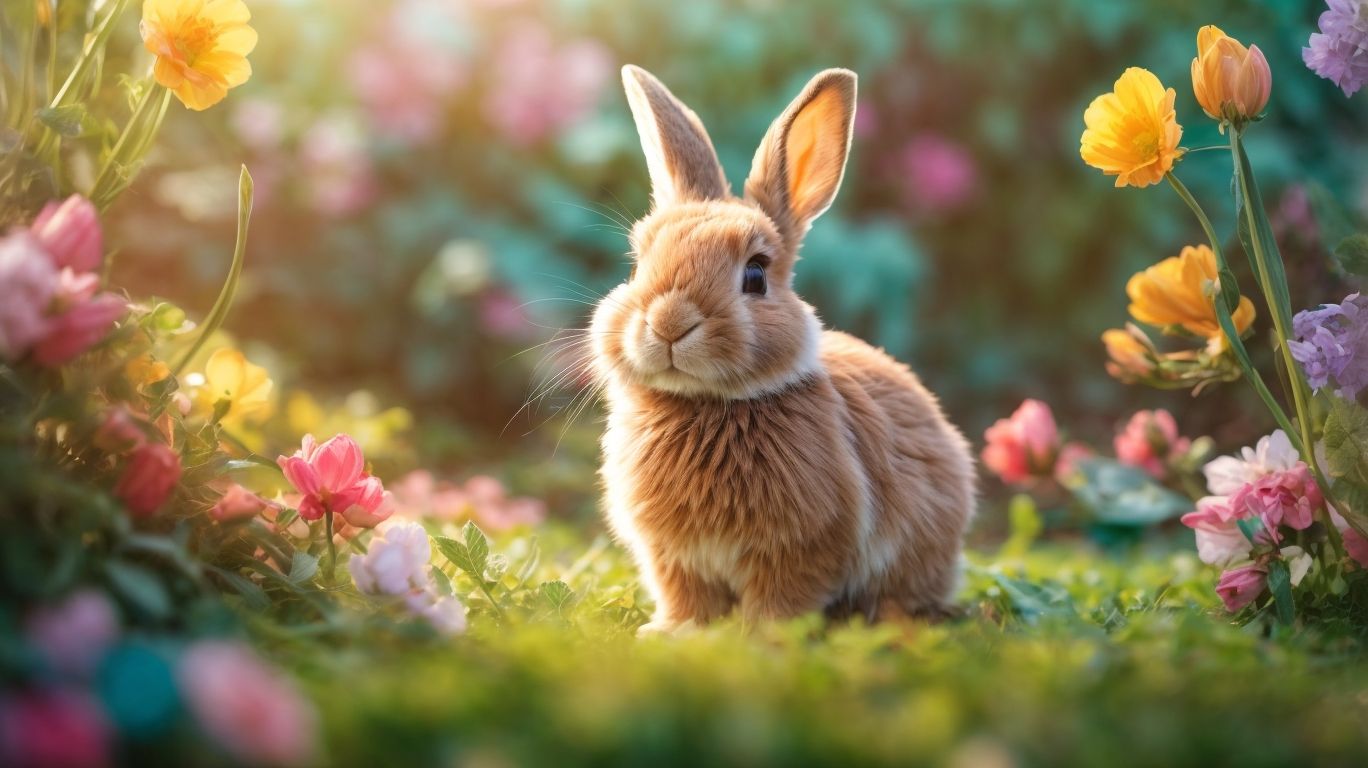
Notice the delicate curves of the bunny’s floppy ears, its expressive eyes, and its soft fur. With each stroke of color, the black-and-white outline will come alive.
This page encourages you to imagine bunnies frolicking in lush meadows with colorful flowers. Picture them hopping happily, their tiny paws leaving prints on the grass. Lose yourself in a world where magic and whimsy reign supreme!
Pro Tip: Mix and blend shades for added depth and dimension. Find a cozy spot with natural light and let your creativity flourish! Bring this lovable creature to life on paper.
Materials Needed
Bring your bunny page to life with the perfect materials! Crayons and colored pencils add vibrancy. Markers for bold colors. Watercolor paints for a soft, blended look. Glitter glue or pens to make it sparkly. And don’t forget stickers and embellishments for extra creativity! Let your imagination run wild and enjoy the joy of creating something beautiful. So grab your art supplies and hop into spring!
Step 1: Gathering the necessary coloring supplies
For a vibrant bunny masterpiece, you’ll need the right coloring supplies. Get ready to bring your bunny to life with colorful tools!
Steps- Gather supplies.
- Coloring pencils – Choose light & dark hues for a realistic touch.
- Markers – For bold and vibrant colors that stand out.
- Crayons – Give your bunny’s coat a soft and fuzzy appearance. Experiment with pressure for different intensities.
- Eraser – To correct mistakes or smudges.
- Blending tool – Achieve smooth transitions between colors with a blending stump or cotton swab.
- Be creative with colors and materials! Let your imagination run wild!
Pro Tip: Good lighting and a comfortable workspace are key for an enjoyable coloring experience.
Step 2: Printing the bunny coloring page
Before you color the bunny page, print it first! Here’s how:
- Find the file: Locate the downloaded bunny coloring page on your computer.
- Connect the printer: Ensure it is properly connected to your computer or network.
- Check ink levels: Make sure the printer has enough ink.
- Adjust settings: Check the print settings to make sure they are set to your preferences. Options include paper size, orientation, and color settings.
- Load paper: Put a blank sheet of paper into the printer tray.
- Print: Click the “Print” button to start printing the bunny coloring page.
You’re now ready to bring the page to life with colors and creativity! Don’t rush. Enjoy the process of coloring. Happy coloring!
Pro Tip: For a more vibrant result, get high-quality colored pencils or markers and use them on your bunny coloring page. This will make your artwork more vivid!
Step 3: Choosing the color scheme
Creating a stunning bunny coloring page requires careful consideration of colors. Here are 3 steps to make it happen:
- Mood: Select colors to reflect the vibe you want. Choose pastels for a peaceful page, and bright hues for a lively one.
- Complementary: Pick colors opposite each other on the color wheel. E.g. oranges and yellows with cool tones such as blues and purples.
- Different shades: Add depth & dimension by mixing in white or black to create lighter or darker versions.
Extra tips:
- Use analogous colors: Three colors next to each other on the color wheel for a harmonious effect.
- Incorporate texture: Add texture with stippling, cross-hatching & scumbling for a realistic look.
Now you can create a stunning bunny coloring page with your colored pencils. Let your creativity soar!
Step 4: Coloring in the bunny
Coloring in the bunny is a must for this cute spring-themed page. Let’s see how you can give it life with color!
- Pick your colors. Think spring! Choose from pretty pinks and blues, to bold yellows and greens. Let your imagination run free.
- Start with the background. Fill in the background around the bunny. You decide if it’s a grassy meadow or a sunny sky. Use big strokes for a uniform color.
- Color the bunny. Take your colors and fill in the bunny, from its ears to its tail. Add shading or highlights for extra depth.
Why not try different coloring techniques? Like blending or cross-hatching. There are no rules – let your creativity show!
Take a look at your creation. You’ve brought this bunny to life with vibrant colors. Don’t wait – grab your coloring tools and have fun!
Step 5: Adding background details
Inject life into the Bunny Coloring Page by introducing background details! Choose a color palette to make the overall look cohesive. Soft pastel shades, with light strokes, can be used to color the sky. Use darker colors for depth and dimension in bushes, trees, etc. Add fine details like grass, flowers, or clouds to finish off the scene. To make the background more exciting, use shading techniques like cross-hatching or stippling. Try different brushes or tools to create unique effects that suit the bunny illustration.
Pro Tip: Sketch a light pencil outline first to plan the placement of objects. This will help you visualize the elements better and prevent any unexpected crowding or scale issues.
Step 6: Adding finishing touches
- Select colorful hues from your range of colors.
- Lightly brush shading and highlights to provide dimension.
- Include intricate textures or patterns to make it stand out.
- Try glitter or metallic pens to add a bit of dazzle.
- Delineate the bunny with a thick black pen for distinction.
- Evaluate your coloring page for any flaws and rectify them.
- To make your bunny coloring page special, you can add some personal touches like flowers around the bunny or set up a backdrop that enhances the overall concept.
- Fun fact! ColorPsychology.org states that bright shades like yellow and orange in your artwork can spark joy and optimism.
Conclusion
It’s time to look back at our journey. Our bunny coloring page brought the joy of spring and inspired both kids and adults.
The activity gave us the power to express ourselves. The intricate design made it a delightful challenge.
Plus, it made us appreciate nature in spring. Each stroke connected us with its wonders.
A story: Emily found the captivating artwork on a sunny day. With her colored pencils, she began to explore.
Weeks passed and her masterpiece became a symbol of hope and resilience. Her parents saw how it helped her stay focused and determined. They were amazed at what the simple page unlocked in their daughter.
Frequently Asked Questions
FAQs – Hop into Spring with this Bunny Coloring Page:
Q: Can I use this coloring page for commercial purposes?
A: No, this coloring page is for personal use only and cannot be used for any commercial purposes without explicit permission.
Q: Can I share this coloring page on social media?
A: Yes, feel free to share this coloring page on your social media accounts. We encourage spreading the joy of coloring!
Q: How can I print this coloring page?
A: Simply click on the “Print” button located below the coloring page image, and a print dialog box will appear. Choose your printer and desired settings, and then click “Print.”
Q: Are there any age restrictions for using this coloring page?
A: This coloring page is suitable for all ages. Kids and adults alike can enjoy coloring the adorable bunny.
Q: Can I customize the colors of the bunny on this page?
A: Of course! Feel free to use your creativity and choose any colors you like for the bunny on this coloring page.
Q: How can I download this coloring page?
A: To download the coloring page, click on the “Download” button located below the image. A high-resolution version will be saved to your device.
- Build Your Imagination With Lego Coloring Pages - October 14, 2023
- Heavy Duty Fun With Truck Coloring Pages For Kids - October 14, 2023
- Blazing Adventures With Fire Truck Coloring Page - October 14, 2023

